DIY Raspberry Pi AIS Receiver: How to Maximize Range and Effectiveness
- Team WAKE

- Aug 18, 2025
- 7 min read

Automatic Identification System (AIS) makes it possible to track ships and share real time navigation data. For many hobbyists the combination of an AIS radio and a Raspberry Pi opens a window into maritime traffic. However there is a big difference between a basic setup and one that reliably captures vessels far away. This guide shares practical tips to increase the range and performance of your Raspberry Pi AIS receiver while keeping things accessible for a general hobbyist audience. There are no complicated equations or engineering jargon. Instead you will find clear advice on antennas coax cables amplifiers and filters to help you get the most from your station.
Why Range Matters for a DIY Raspberry Pi AIS Receiver
AIS devices onboard ships broadcast their position heading and other data on VHF radio frequencies. These signals are transmitted twice every few seconds on two separate AIS channels. Shore based receivers pick up these transmissions and decode them for display on charts or to feed live ship tracking networks. The further your AIS receiver can hear the more ships you will see. This makes your station more valuable to the community and more interesting for your own use. A few upgrades can transform a modest setup into one that sees vessels thirty fifty or more nautical miles away.
Choose the Right Antenna

The single biggest influence on AIS performance is the antenna. Many beginner kits come with small whip antennas or even a short piece of wire. These might work for a handful of miles but they miss many transmissions. For real range you should invest in a purpose built AIS or marine VHF antenna that is tuned for 161 to 162 MHz. A three decibel vertical whip is a common choice because it provides a balance of gain and simplicity. It receives signals equally in all directions which is ideal for shore stations. Some hobbyists experiment with directional antennas like Yagi arrays or taller collinear antennas. These can add a few decibels of gain but they focus on a narrow beam which limits coverage to a sector. For most users a quality omnidirectional antenna mounted properly will deliver excellent results.
Mount the Antenna High and Clear
AIS signals travel by line of sight. This means that obstacles like buildings trees and the horizon limit how far they can go. By raising your antenna you lift the receiving point above obstructions and extend the radio horizon. A height of twenty metres can give coverage of roughly twenty five nautical miles under normal conditions. Even adding a few metres can make a noticeable difference. Ideally place your antenna outside on a roof mast or tower with an unobstructed view in the directions you care about. Keep it away from metal structures other antennas and sources of electrical noise. Also ensure it is mounted upright since AIS transmissions use vertical polarization. Securing the mast and cables against wind and weather prevents long term issues.
Minimise Cable Losses

Signals picked up by your antenna must travel through a coax cable to reach your receiver. All cables introduce some loss and cheaper thin cables like RG 58 can absorb a significant portion of the signal over long runs. For example a twenty metre length of RG 58 may lose around half of the signal power at AIS frequencies. This completely cancels the modest gain of a three decibel antenna. Use the shortest length of coax that allows a convenient installation and consider a thicker low loss cable like RG 213 or LMR 400 for runs over ten metres. Better yet place the AIS receiver itself close to the antenna and use a longer network cable or USB cable to your Raspberry Pi. This approach preserves signal strength because data cables do not attenuate radio frequency signals. Also minimise the number of connectors since each junction adds a little more loss. If the connection is outdoors wrap it with weather proof tape to prevent moisture from creeping in which can quickly ruin signal quality.
Add a Low Noise Amplifier

A low noise amplifier (LNA) boosts incoming signals before they are processed by your receiver. When placed near the antenna it can compensate for losses in the cable and improve overall sensitivity. Many LNAs designed for the VHF range provide ten to twenty decibels of gain. They are often powered remotely through the same coax using a small bias tee which makes installation simpler. However an amplifier is not a magic fix and can cause problems if there are strong nearby transmitters. In urban areas where FM broadcast stations police radios or pager networks are strong an amplifier may overload the receiver creating more noise than signal. For that reason an LNA should be added only after you have optimized your antenna and cables. When used correctly a low noise amplifier can extend your reception by pulling in weak AIS messages that would otherwise be lost.
Filter Out Interference

A band pass filter sits between your antenna and receiver and blocks frequencies outside the narrow AIS band. It reduces interference from FM stations emergency radios and other VHF transmissions that can overload or desensitize your receiver. Filters designed specifically for 161 to 163 MHz are widely available and many include an FM notch to cut out strong 88 to 108 MHz signals. Using a filter is especially important if you also use a low noise amplifier because it ensures that the amplifier boosts only the frequencies you want. Some manufacturers offer combined units that include both a filter and amplifier in one enclosure simplifying the signal chain. Even in quieter RF environments a band pass filter can lower the noise floor and sharpen the clarity of received messages.
Consider Upgrading the Receiver
The Raspberry Pi is often paired with an inexpensive software defined radio dongle to form an AIS receiver. These basic devices work surprisingly well but they have limitations. Frequency stability is one factor. AIS signals occupy narrow channels and some cheaper dongles drift slightly with temperature which can reduce decoding accuracy. A dongle with a temperature compensated oscillator or dedicated AIS modules can offer more consistent performance. Also make sure your software is capturing both AIS channels. Tools like AIS catcher and rtl ais can sample a wide slice of the spectrum and decode both frequencies at once. If your station currently listens to only one channel you could be missing half the transmissions. For extreme performance you might explore mid range SDRs or dedicated dual channel AIS receivers with better sensitivity and dynamic range. These are optional but they can add incremental improvements once you have addressed the major hardware factors.
Putting It All Together
Optimizing a Raspberry Pi AIS station is as much about attention to detail as it is about big upgrades. Start with the fundamentals: a proper AIS antenna mounted high connected with a short quality coax. From there you can add a low noise amplifier and band pass filter to squeeze out extra range in busy RF environments. Consider the entire signal path from ship to software. Each link matters. When done thoughtfully these upgrades can transform a simple hobby project into a robust station that hears ship traffic well over the horizon. Whether you are tracking cargo ships on the coast or watching harbor traffic from your home these tweaks will help you build an AIS receiver that reaches farther and performs better providing more data for your own enjoyment and for the broader maritime community.
Join WAKE and Earn Crypto with Your DIY Raspberry Pi AIS Receiver
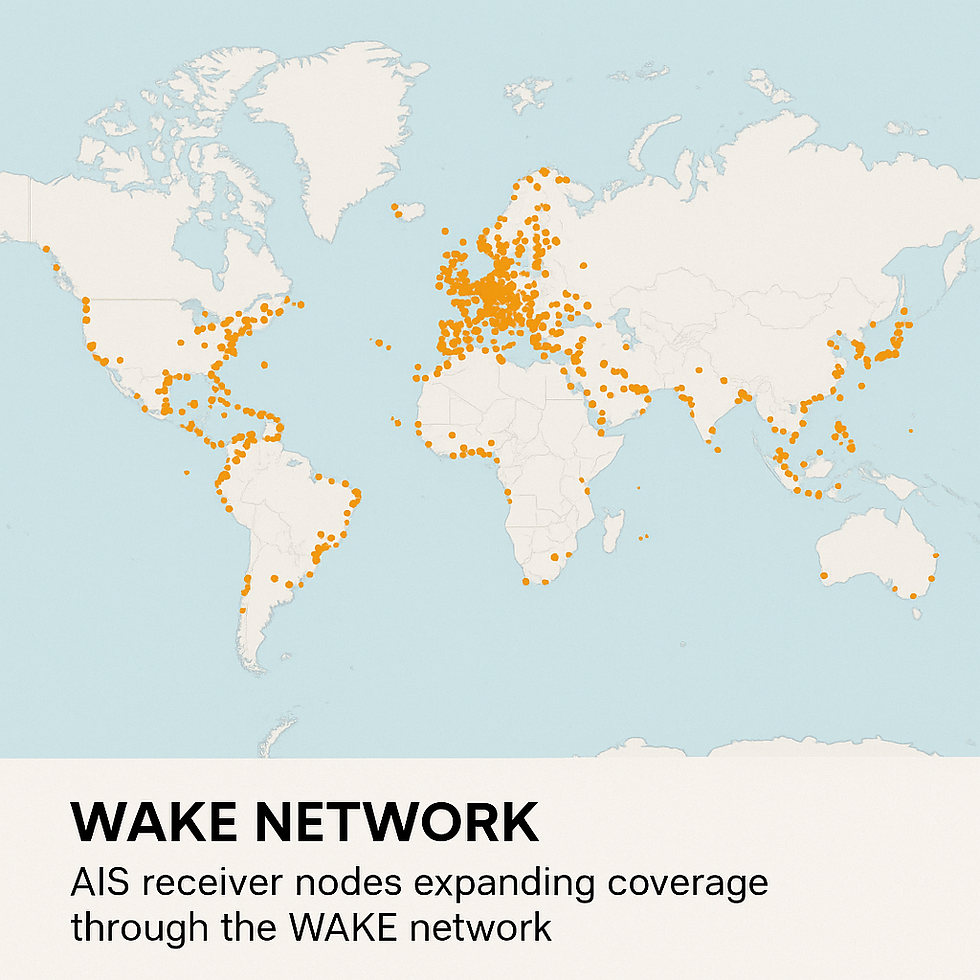
If you want to take your DIY Raspberry Pi AIS Receiver one step further, you can join the Worldwide AIS Network (WAKE). WAKE is the world’s first decentralized AIS data platform that rewards contributors with cryptocurrency for sharing valid ship signals. By running your receiver and contributing data, you not only improve global maritime visibility but also earn crypto in return. It is a simple way to turn a hobby into both a community service and a source of income.
1. What is a DIY Raspberry Pi AIS Receiver?
A DIY Raspberry Pi AIS Receiver is a low cost setup that uses a Raspberry Pi computer and a software defined radio dongle to pick up Automatic Identification System signals from ships. It allows hobbyists to track vessels in real time without expensive commercial hardware.
2. How far can a DIY Raspberry Pi AIS Receiver pick up ships?
The range depends on your antenna height, quality of coax cable, and whether you use amplifiers or filters. With a well placed antenna many hobbyists see ships 20 to 30 nautical miles away, and with further optimizations some stations can reach 50 nautical miles or more.
3. What antenna works best for a DIY Raspberry Pi AIS Receiver?
The best choice is a marine VHF antenna tuned to around 162 MHz. A three decibel vertical whip is ideal for most hobbyists since it is omnidirectional and reliable. Mounting the antenna high and clear of obstacles makes the biggest difference in reception.
4. Do I need special hardware like filters or amplifiers for my DIY Raspberry Pi AIS Receiver?
You can start with just the Raspberry Pi, a USB SDR dongle, and an antenna. To improve performance many hobbyists add a low noise amplifier near the antenna and a band pass filter to reduce interference. These extras are optional but can extend range and increase the number of ships you receive.
5. Can a DIY Raspberry Pi AIS Receiver feed data to ship tracking websites?
Yes. Most AIS software packages for Raspberry Pi support uploading data to global networks. By sharing your AIS feed you contribute to worldwide ship tracking and also gain access to premium maps and tools that show you traffic beyond your own station’s range.
How much does it cost to build a DIY Rasberry Pi AIS Reciver?
Most hobbyists can build a DIY Raspberry Pi AIS Receiver for under 100 to 150 euros depending on the parts chosen. The main costs are the Raspberry Pi, a USB SDR dongle, a suitable AIS or VHF antenna, and quality coax cable. Adding extras like an amplifier or filter will increase performance but also add a little to the budget.


Comments