DIY Raspberry Pi AIS Receiver: Build a Solar-Powered Station for Under €100
- Team WAKE

- Jul 27, 2025
- 7 min read
Track ships, contribute to global maritime visibility, and earn WAKE rewards — all with a self-powered AIS station you can build in a weekend.

Building a DIY Raspberry Pi AIS receiver with solar power, mobile internet, and open-source tools
Building your own AIS (Automatic Identification System) receiver used to require expensive marine equipment and access to power and internet infrastructure. Not anymore. Thanks to low-cost components and open-source software, you can now deploy a fully self-sufficient AIS station for under €100, powered by the sun and connected over mobile data.
In this guide, you'll learn how to build a compact, solar-powered AIS receiver using a Raspberry Pi, RTL-SDR, and off-the-shelf parts. Whether you're a hobbyist, researcher, or early WAKE contributor, this setup lets you monitor nearby ships and feed real-time data into a decentralized global network, all from remote coastlines or off-grid locations.
Parts List
Component | Description |
Lightweight Linux computer | |
AIS-capable SDR USB stick | |
AIS VHF Antenna (Marine Band, 162 MHz) | Compact or DIY whip |
Bias-T LNA (optional) | Improves weak signal reception |
Powers the system at night | |
Keeps the battery charged | |
Steps down for Pi power | |
Keeps it all dry | |
RG-58 or RG-213 + SMA/BNC |
Power System: Detailed Overview
To ensure your AIS station operates continuously, including at night and in remote areas, you’ll use a small solar power setup. The system consists of a solar panel, charge controller, 12V battery, and a buck converter to supply stable 5V power to the Raspberry Pi and SDR.
Power Flow
Solar Panel → Charge Controller → 12V Battery → Buck Converter → Raspberry Pi and RTL-SDR
Each component plays a specific role in the system:
Solar Panel to Charge Controller
The solar panel harvests energy from sunlight and sends it to the charge controller.
The charge controller regulates this voltage to safely charge the battery and protect against overcharging.
Use a 12V solar panel rated at 10W or higher.
The panel must be able to output at least 14V in full sun to properly charge a 12V lead-acid battery.
A basic PWM charge controller is sufficient and inexpensive (typically around €5). Connect the panel to the controller’s PV+ and PV− terminals.
Charge Controller to 12V Battery
The charge controller connects directly to the 12V battery via its BAT+ and BAT− terminals.
Use a 12V 7Ah sealed lead-acid battery or similar.
Always check polarity before connecting. Reversed connections may damage the controller or battery.
Ensure all terminals are secure, and avoid over-discharge by keeping the battery above 11.5V when possible.
12V Battery to Buck Converter
The Raspberry Pi operates at 5V and cannot be powered directly from the 12V battery.
Use a buck converter (DC-DC step-down) to reduce the voltage from 12V to 5.1V.
The buck converter must be capable of delivering at least 2A of continuous current to support the Pi and RTL-SDR.
Connect the converter either directly to the battery or to the LOAD output of the charge controller if available.
Buck Converter to Raspberry Pi and RTL-SDR
The 5V output from the buck converter powers the Raspberry Pi.
The RTL-SDR draws current from the Pi’s USB port, so the converter must provide a clean, stable voltage under load.
Use a USB-A breakout, micro-USB cable, or GPIO 5V and GND pins depending on your setup.
Before connecting to the Pi, measure the output of the converter with a multimeter to confirm it is 5.1V.
Additional Notes
Avoid undervoltage. The Raspberry Pi is sensitive to power dips and may reboot or corrupt the SD card if voltage drops below 4.75V.
Mount all components in a waterproof enclosure with adequate airflow.
If using a bias-T LNA, check the total current draw to ensure the power system can handle the additional load (typically 30–50 mA).
Internet Connectivity in a Remote AIS Station
For the station to contribute AIS data in real time, it must have a reliable internet connection. In remote or off-grid deployments, you’ll need to select a method that works within power, location, and budget constraints.
Internet Options
There are three practical ways to give your Raspberry Pi internet access:
Wi-Fi (if you’re near a coastal building, ferry port, or marina hotspot)
4G USB Modem (cellular data via prepaid SIM)
Ethernet (if hardwired LAN is available — rare in solar setups)
Recommended Setup: 4G USB Modem (Self-Contained)
For most self-contained deployments, use a plug-and-play 4G USB modem with a prepaid SIM card and basic data plan.
Compatible hardware:
Huawei E3372h (HiLink version) Works out of the box with Raspberry Pi OS as a USB Ethernet adapter. No driver installation required.
TP-Link MA180 or ZTE MF823 Also supported by the Linux USB modeswitch library.
Setup process:
Insert SIM card into the modem (disable PIN code via another device first).
Plug the modem into the Raspberry Pi’s USB port.
Wait ~60 seconds. The modem should appear as a USB Ethernet device (usb0).
The Pi will obtain an IP address via DHCP.
Run ping -c 3 google.com to confirm connection.
Power Budget
Most 4G modems draw around 0.5 to 0.8 amps at 5V during active transmission. Your power system must account for this:
Battery size: At least 12V 7Ah
Solar panel: Minimum 15W in northern latitudes
Buck converter: Rated for 3A continuous output
If your modem is unstable due to voltage drop, use a powered USB hub or add capacitors (1000 µF+) across the 5V rail near the modem.
Antenna Setup
For optimal performance, the AIS antenna should be mounted as high as possible in a location with an unobstructed view of the sea or surrounding waterways. Height significantly improves reception range by reducing obstructions and line-of-sight limitations, especially in coastal or hilly areas.
The antenna should be connected to the SDR using a low-loss coaxial cable to minimize signal degradation between the antenna and receiver. For short cable runs, RG-58 is sufficient, but for longer distances or improved efficiency, RG-213 is preferred due to its lower attenuation.
In situations where the AIS signals are weak—such as in remote locations or areas with minimal maritime traffic—it may be necessary to install a low noise amplifier (LNA) between the antenna and SDR. A bias-T powered LNA can amplify the incoming signal before it reaches the SDR, helping recover transmissions that would otherwise be lost due to noise or signal drop-off. If you choose to use an LNA, ensure that it is compatible with your SDR and that the power source (typically from the SDR’s bias-T) is properly configured.
Software Setup (AIS-Catcher)
Software Setup: AIS-Catcher Pi GUI
To receive and decode AIS messages, you’ll use AIS-Catcher, an efficient and actively maintained AIS decoder.
For ease of installation and monitoring, we recommend the AIS-Catcher Pi GUI — a web-based interface that runs on your Raspberry Pi and allows you to configure and monitor your SDR receiver directly from your browser..
This setup is well-suited to low-power devices like the Raspberry Pi Zero 2 W and provides a user-friendly interface for confirming your station is operating correctly.
Step 1: Install Raspberry Pi OS Lite
Start by flashing Raspberry Pi OS Lite onto a microSD card using the Raspberry Pi Imager. Enable SSH during flashing, or place a blank file named ssh (no file extension) in the boot partition of the SD card if you want remote access after setup. Once the OS is installed, boot the Pi and connect via SSH.
Step 2: Update System Packages
Ensure the system is up to date:

Install any missing dependencies:

Step 3: Install AIS-Catcher Pi GUI
Clone the AIS-Catcher Pi GUI repository and run the installer script:

The script will install AIS-Catcher, the GUI interface, and configure everything for headless use. Once complete, the web interface will be available locally at:
http://<raspberrypi-ip>:8080
Use your Pi’s IP address to access the GUI from any browser on the same network.
Step 4: Configure AIS-Catcher
In the GUI interface, you’ll be able to:
Select your SDR device
Set gain and frequency correction (ppm)
Choose output mode (e.g., UDP, JSON, NMEA)
View live message statistics, reception charts, and logs
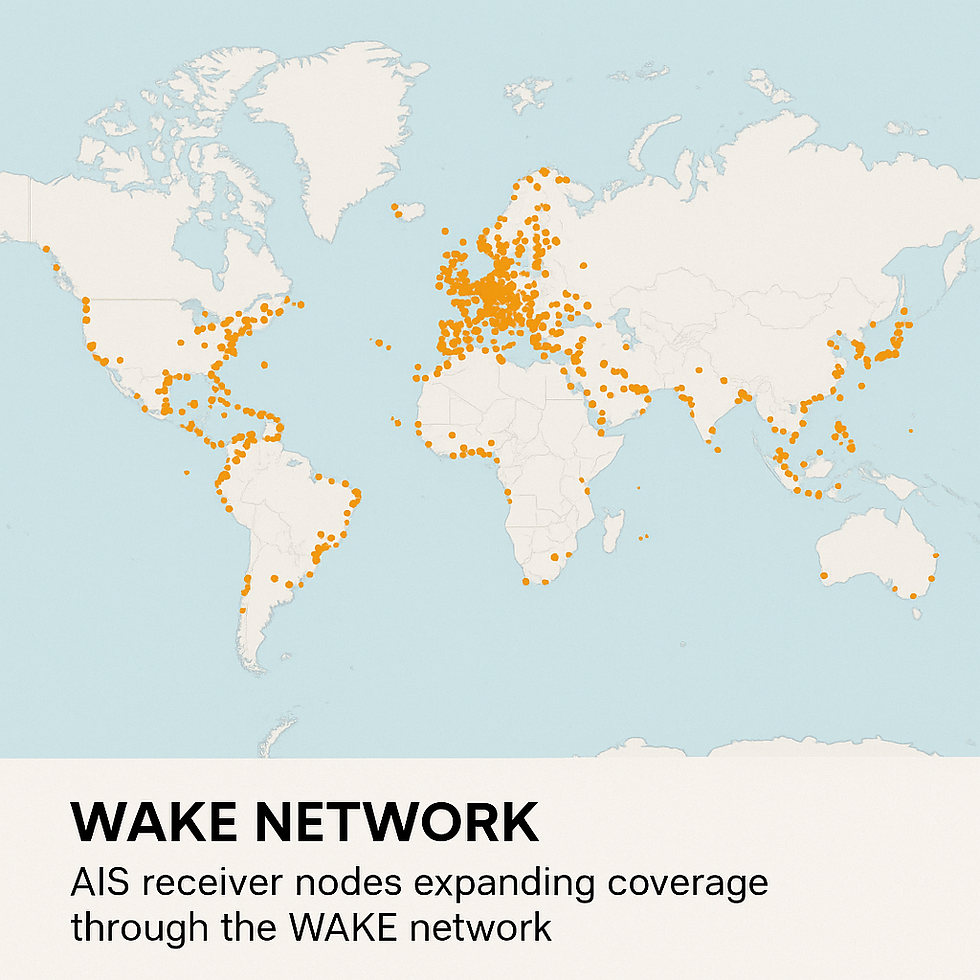
If you're planning to send data to the WAKE network, set output format to UDP and point it to your designated forwarding address and port (this will be provided when you're onboarded).
You can also enable automatic startup from within the GUI’s settings tab, so your station reboots cleanly and restarts decoding after a power loss or system update.
FAQ
What is the cheapest way to build an AIS receiver?
The most affordable way to build an AIS receiver is by using a Raspberry Pi, an RTL-SDR USB dongle, and a marine VHF antenna. When combined with open-source software like AIS-Catcher and powered by a small solar panel and battery, this setup can cost less than €100. It offers full functionality for decoding AIS messages from nearby ships without requiring commercial marine hardware.
Can a Raspberry Pi receive AIS signals?
Yes, a Raspberry Pi can receive AIS signals when paired with an RTL-SDR dongle and a VHF antenna. Software like AIS-Catcher runs efficiently on Raspberry Pi OS, making it ideal for decoding ship broadcasts on AIS Channel A (161.975 MHz) and Channel B (162.025 MHz). This makes the Pi a powerful, low-power platform for building custom AIS monitoring stations.
How do I run an AIS receiver off-grid?
To run an AIS receiver off-grid, you’ll need a solar power system that includes a 10–15W panel, a 12V battery, and a step-down converter for 5V output. The Raspberry Pi and RTL-SDR consume little power, making them ideal for solar-powered installations. A mobile internet connection (e.g., 4G USB modem) allows your station to transmit AIS data in real time, even from remote coastal locations.
Do I need internet to run an AIS station?
You don’t need internet to receive AIS messages locally, but if you want to upload ship data to a global network like WAKE or MarineTraffic, your station will need some form of internet access. The most common options are Wi-Fi (if available) or a 4G USB modem with a data SIM. AIS-Catcher can log data locally and forward it automatically whenever a connection is available.


Comments